
With Aerotech reloads getting quite expensive (or at least I think they are) I looked around for a motor that was cheaper to run. Fuel for hybrid motors can be very cheap, but almost all the mass-produced systems are for bigger diameter motors than I have been using, and I didn't particularly fancy investing in all the gubbins necessary to decant nitrous oxide to the oxidiser tank on the launch pad. Then I found the micro-hybrid...
The micro-hybrid is a 24mm diameter hybrid motor, which uses pre-filled SodaStream-esque cannisters of nitrous oxide, so no decanting required. I could have bought one complete from Eclipse Rocketry, but for a bit of interest and challenge I decided I would try to adapt some 24mm Aerotech casings to do the same job. I bought the design plans for the standard micro-hybrid from Eclipse and set to.
Warning: Only read this if you think you might actually be interested in the content. Don't come here looking for flashy web design; the presentation is dull as ditch-water.
My Design
My motor is two Aerotech tubes screwed together.

The forward tube (on the left in the picture above) is just the right size to hold the oxidiser cylinder (with a little insulating tape “sabot” to centralise it). Each of the gas cannisters costs around 60p including postage. (That is if I buy them in boxes of ten at a time from this e-Bay vendor. There are plenty of places which will sell them in bulk, up to 1200 at a go, and in those volumes they are about half that price. The gas cylinders are also available from Eclipse).

The aft tube contains the fuel. In this case it is a page and a half of A4 paper cut into quarters length-ways and rolled into a thick-walled tube. (I told you the fuel was cheap). And I use the standard Aerotech forward and aft o-rings, and the Aerotech nozzle and aft closure.

The coupler between the two tubes serves several purposes. Obviously it joins the two tubes. In the forward side it holds the piercer/injector which opens the metal seal on the end of the cannister (by puncturing a hole in it) and controls the flow of oxidiser into the combustion chamber (by metering it through a tiny hole in the centre). The detail of the piercer/injector is exactly as in the original micro-hybrid design.
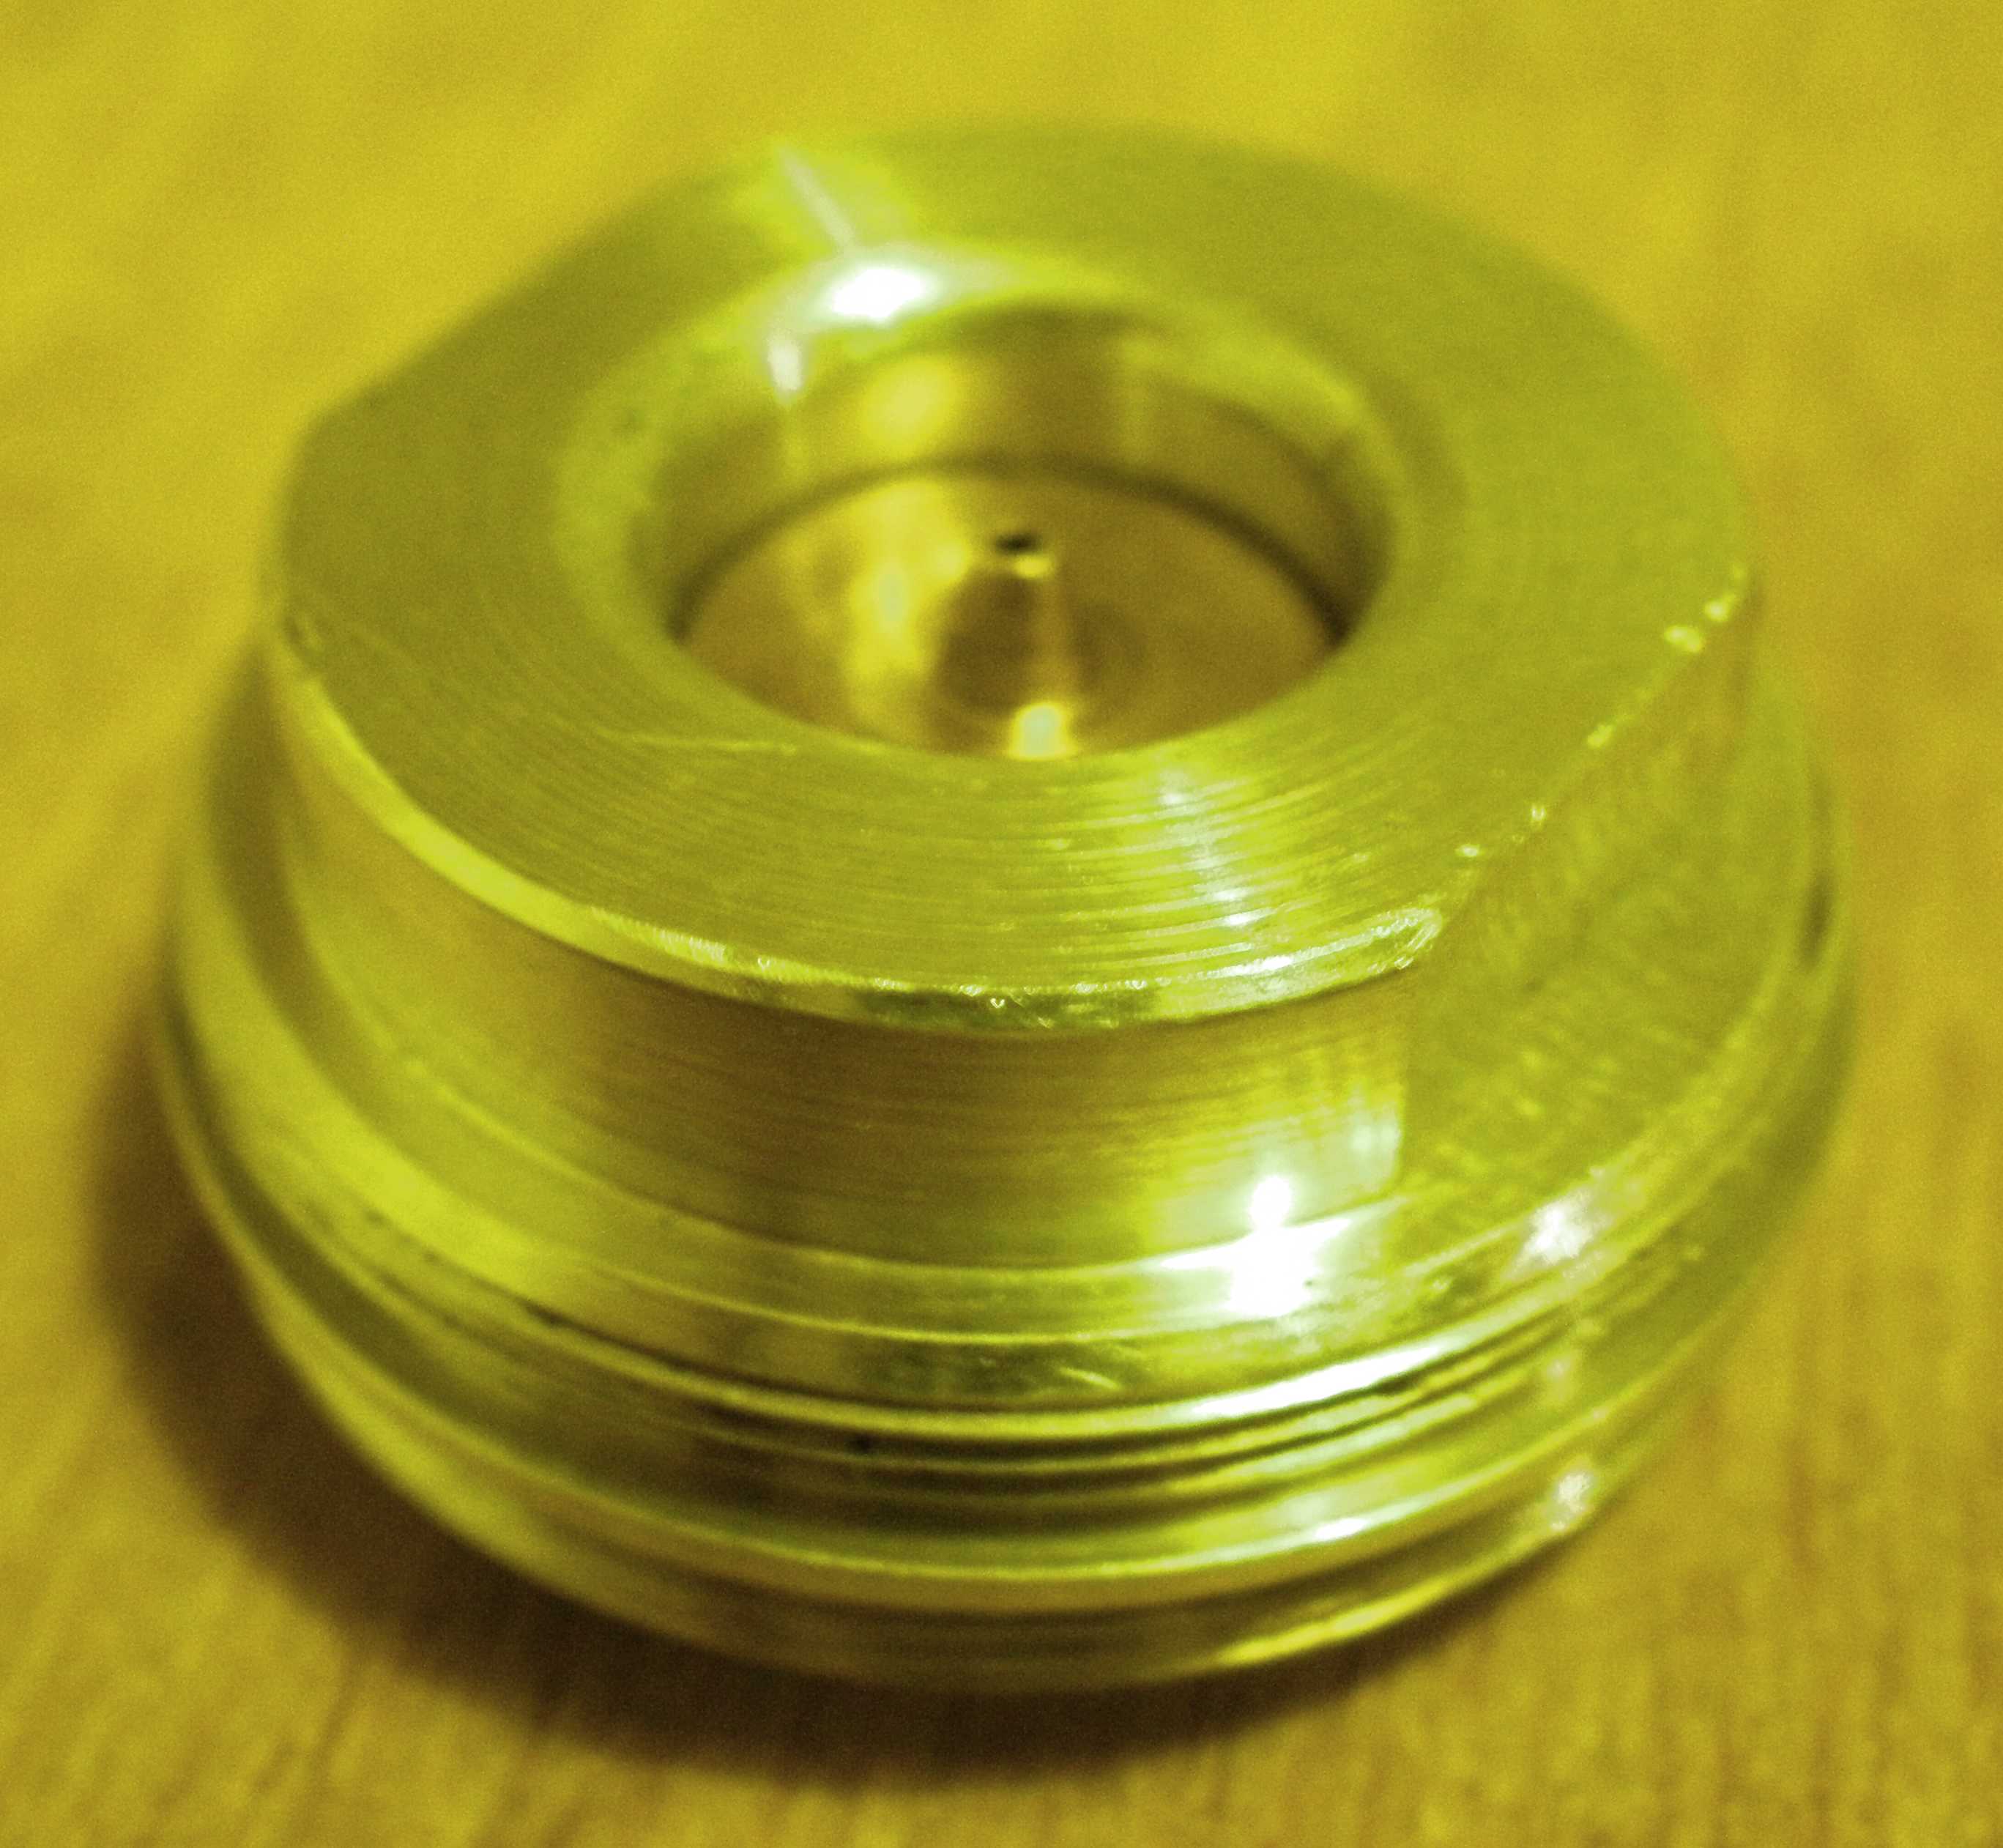
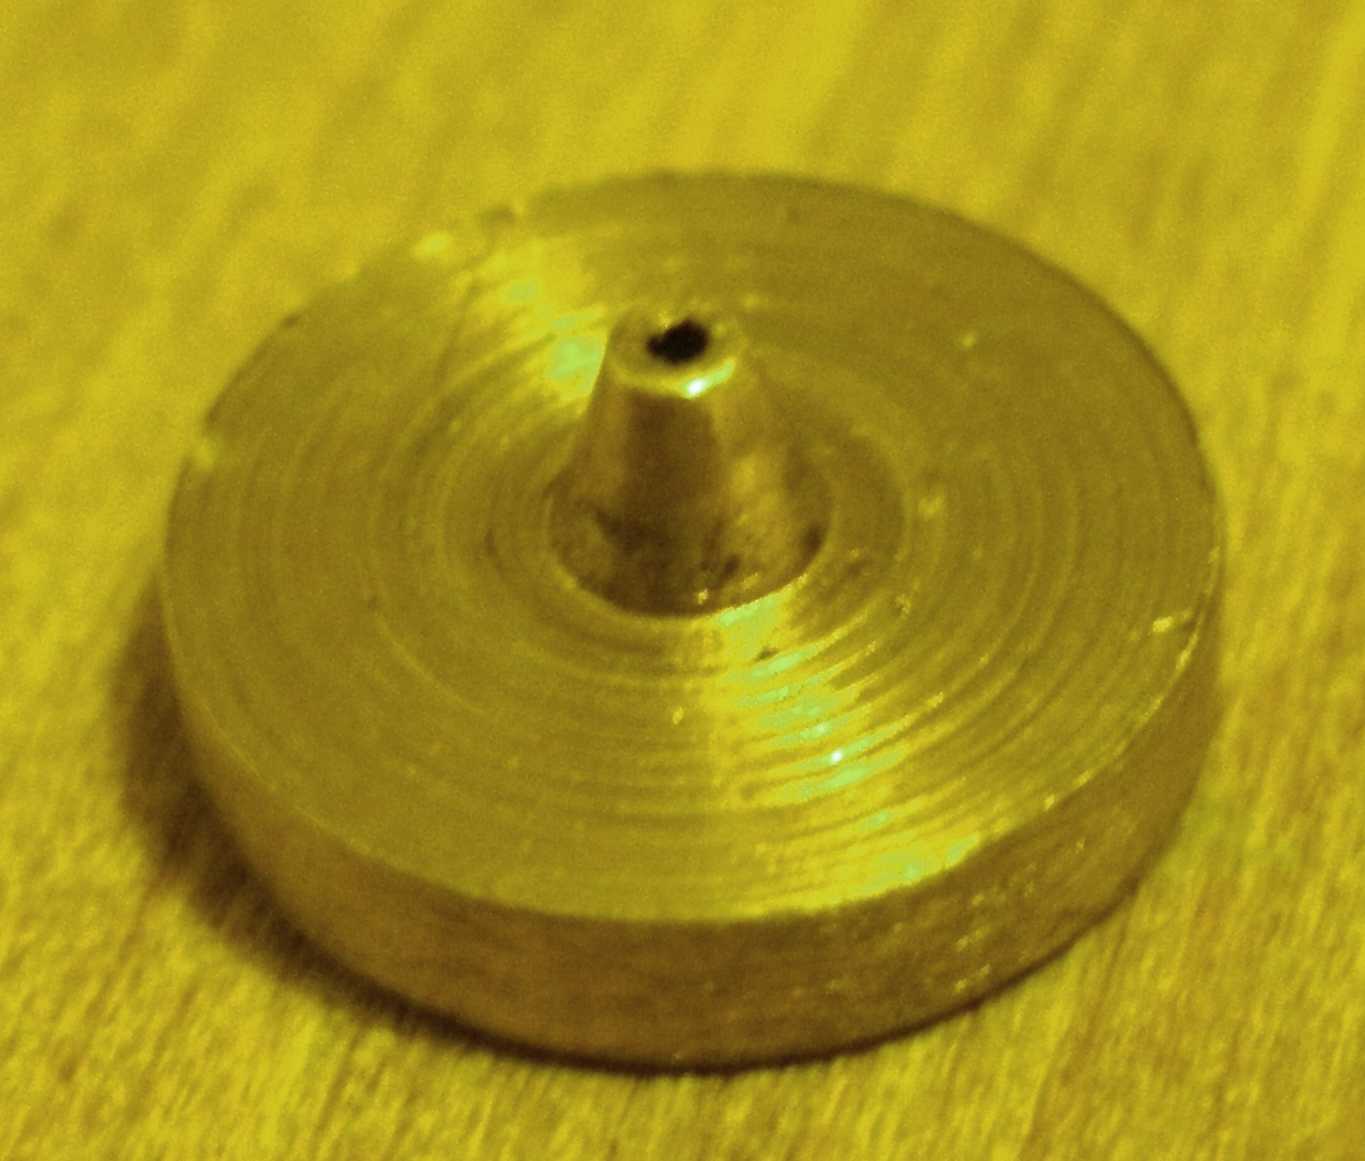
On the aft side of the coupler is another recess which holds the pre-heater. That is a small piece of AP rocket fuel, which in itself is dual purpose. Once the oxidiser cannister is pierced, what prevents the nitrous oxide all just gushing out through the nozzle? The answer is a small piece stamped out of a Coke bottle and trapped under the injector which seals off the oxidiser from the combustion chamber until you are ready to go. The pre-heater grain burns/melts a hole in the disc which starts the flow of nitrous oxide, and also provides the initial energy required to dissociate the nitrous oxide and get it reacting with the fuel. (Once the reaction starts it can sustain itself). Again, all of that is as per the original micro-hybrid design.
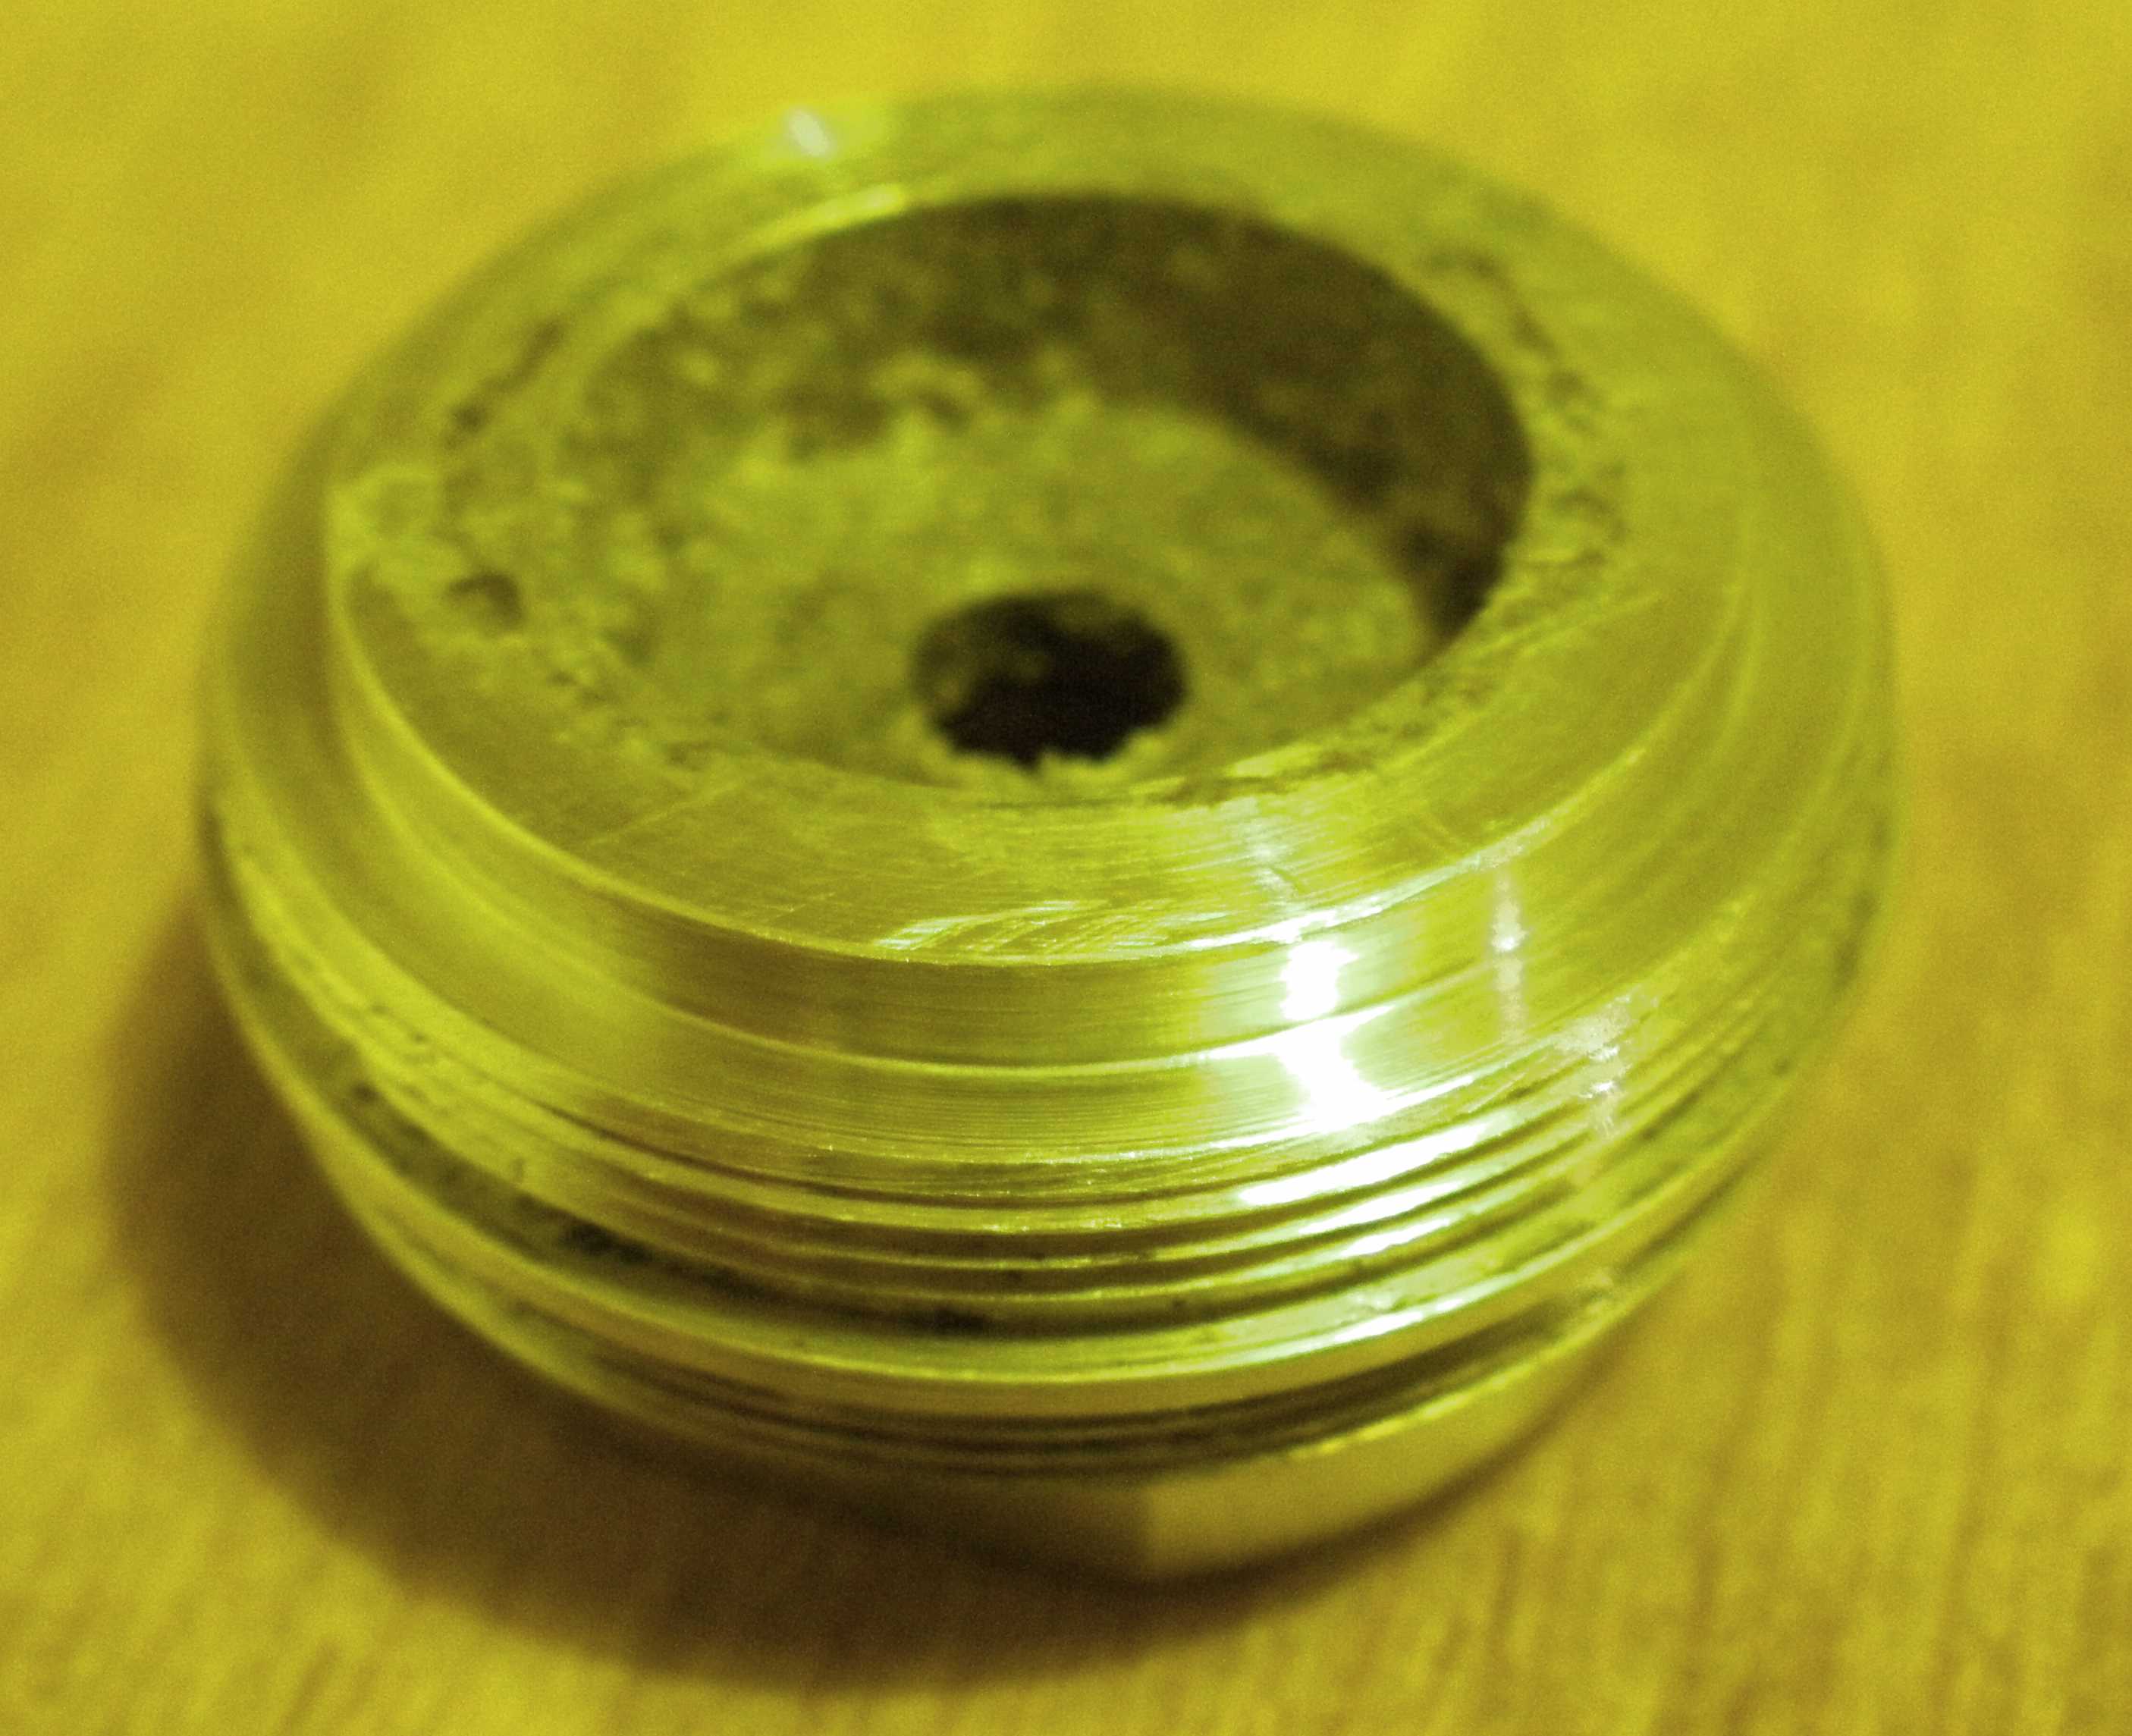
Mark I used the standard Aerotech forward closure to retain the gas cylinder in the forward tube, but I found this to be unsuitable. I could not engage the thread between the couple and the forward tube, if the forward closure was completely screwed down. (At least I couldn't without prematurely puncturing the gas cylinder). So in order to assemble the motor at all, I needed to leave both joints only partly done up to start with. To break the seal on the cannister, I had to tighten the forward closure completely (sometimes that in itself was enough to pierce the seal) and then quickly (very quickly if I was already losing gas) tighten the joint at the coupler in order to seal the bottle down onto the Coke bottle disc.
What I found was that the tension put on the fine aluminium threads when the pressure from the cylinder was exposed on puncturing the seal, coupled with the fact that there were no tool locations I could use to grip the tube with at this point, meant the threads just bound up. I could finish tightening them only once enough pressure had been relieved from the cannister that the tension was low enough that I could once more turn the parts by hand. That turned out to waste quite a lot of the oxidiser, and given there are only 8g in there in the first place, that is far from desirable.
I did manage to fire Mark I motors a couple of times, but there was so little gas left in the oxidiser tank by the time I got round to it, the performance was just pitiful.
For Mark II I replaced the forward closure with a plug having a recess in the aft face to accommodate the spherical end of the gas cylinder, so that it can be completely screwed into the tube, and the two tubes screwed completely together without piercing the seal on the cannister. The thing which forces the cylinder down onto the piercer is a grub screw fitted through the forward plug, and that means I can get a much better grip on it with a tool.
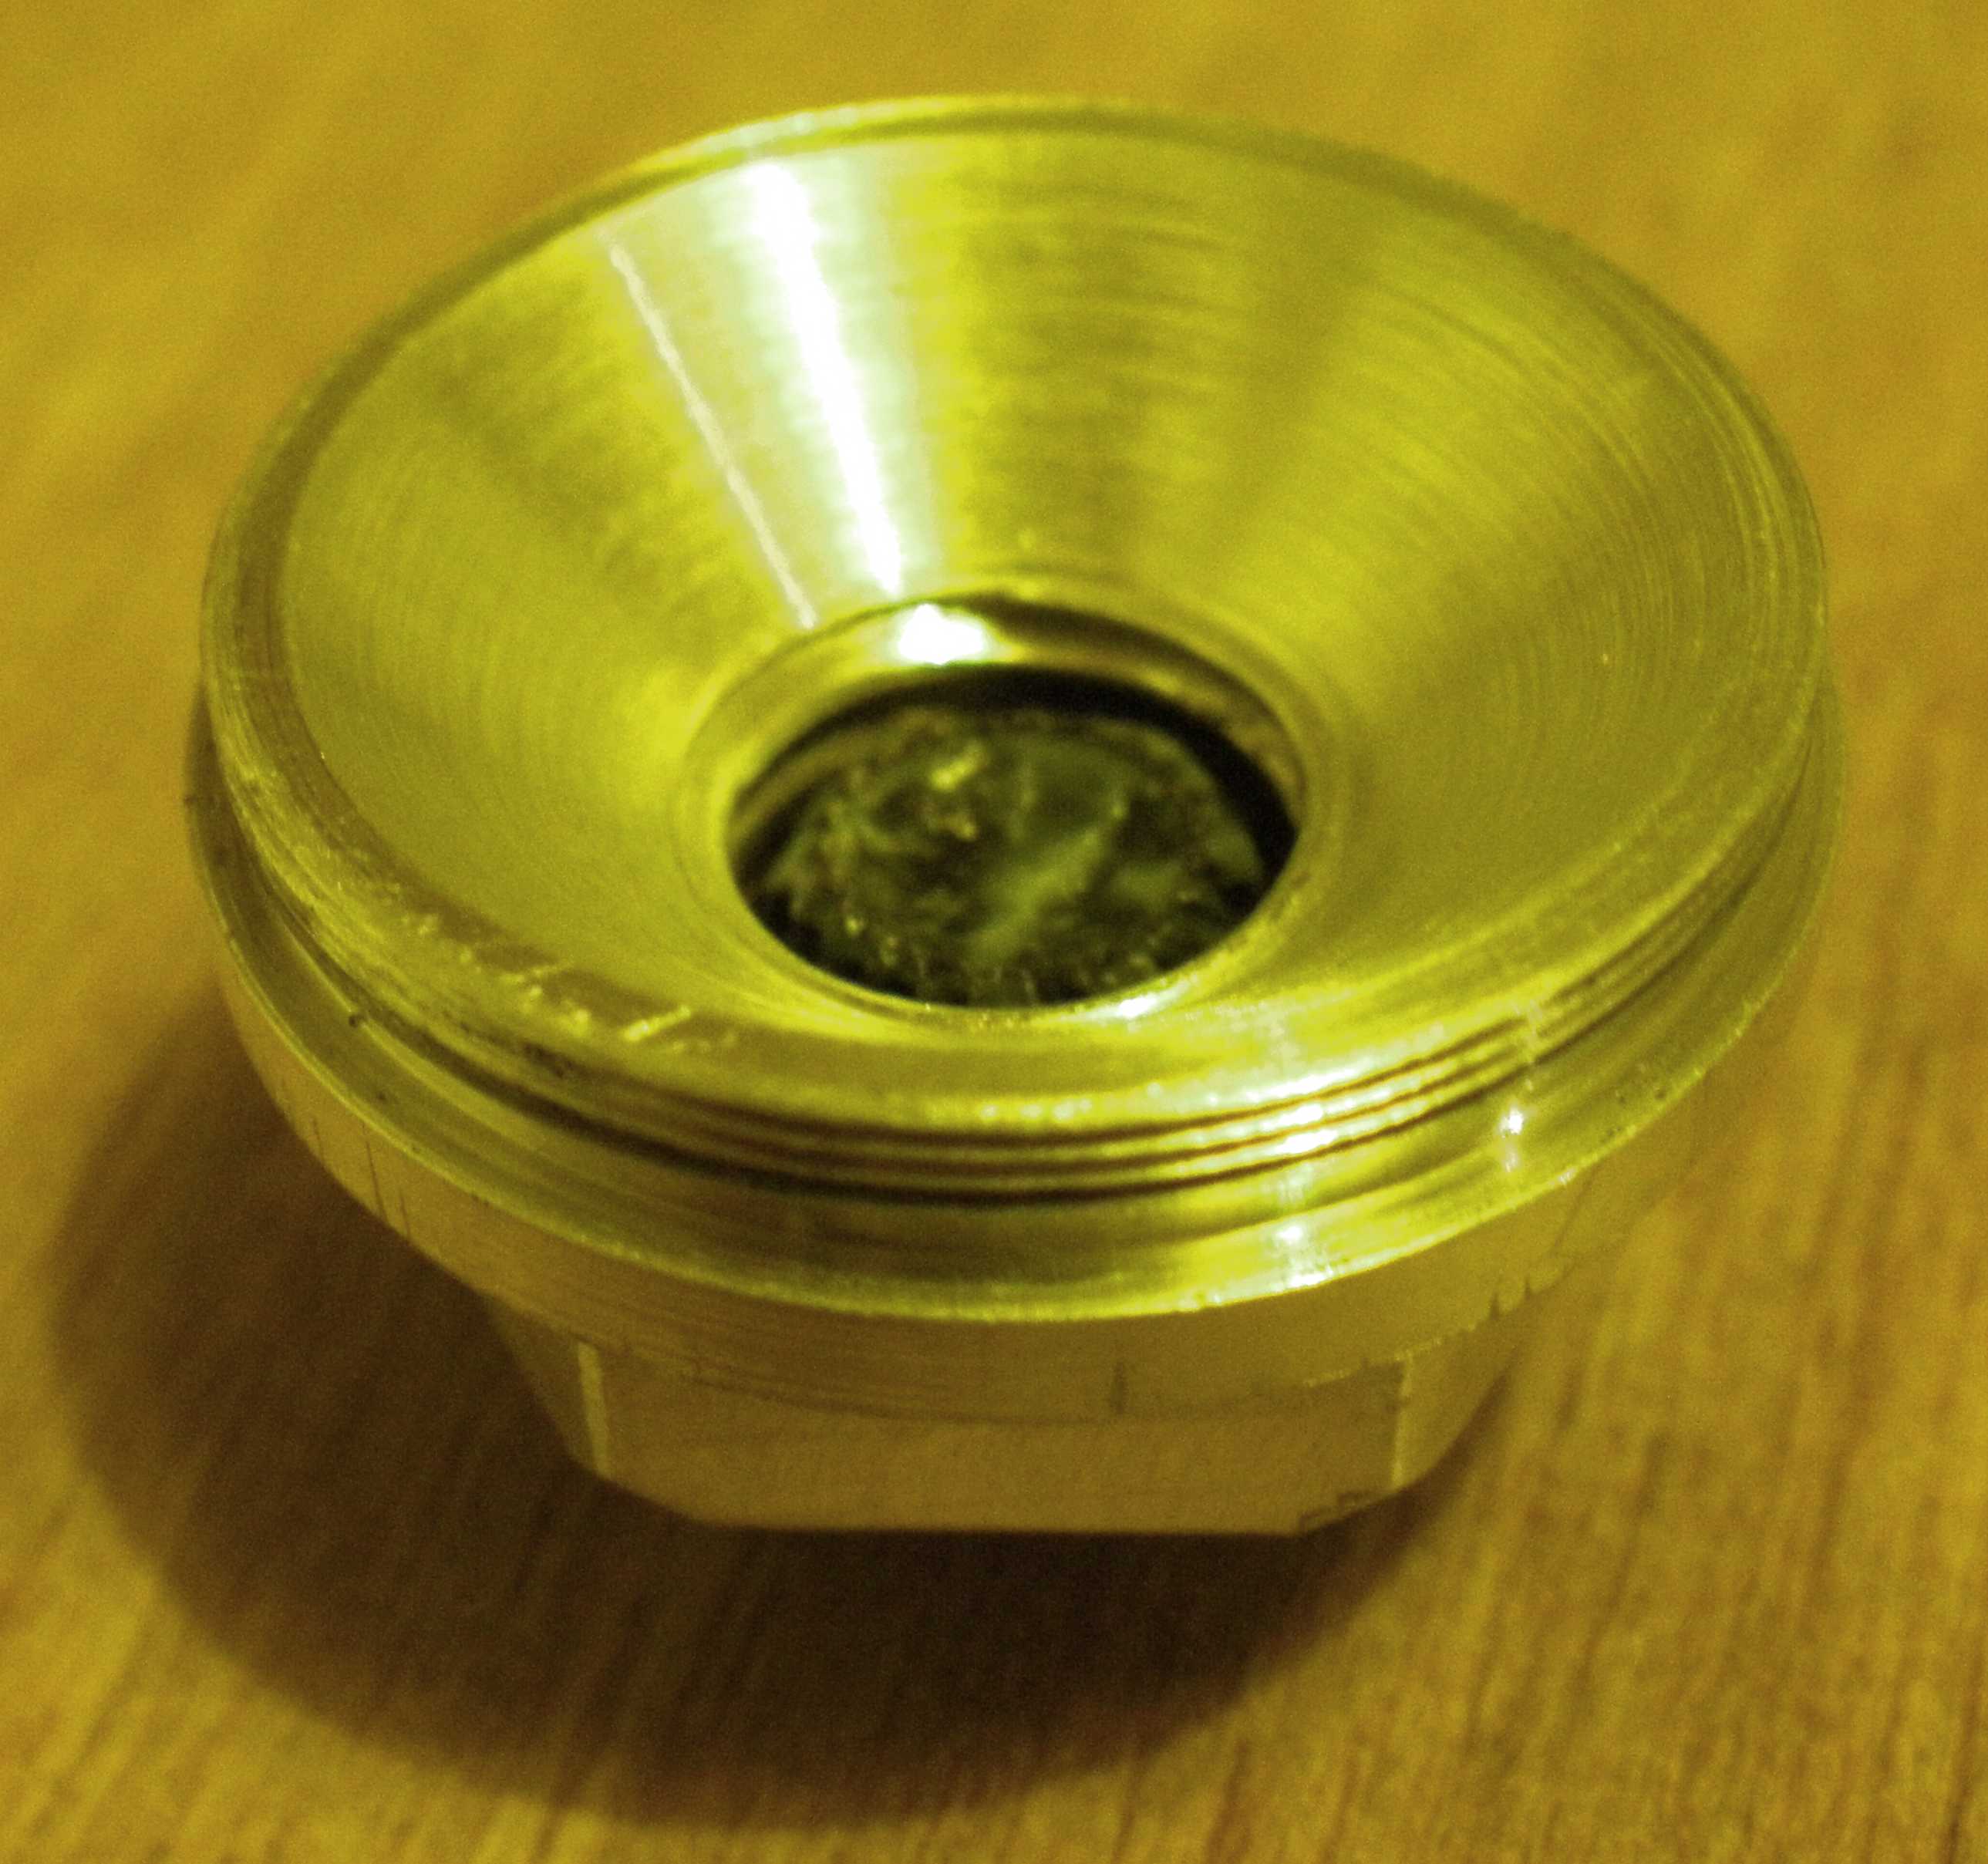
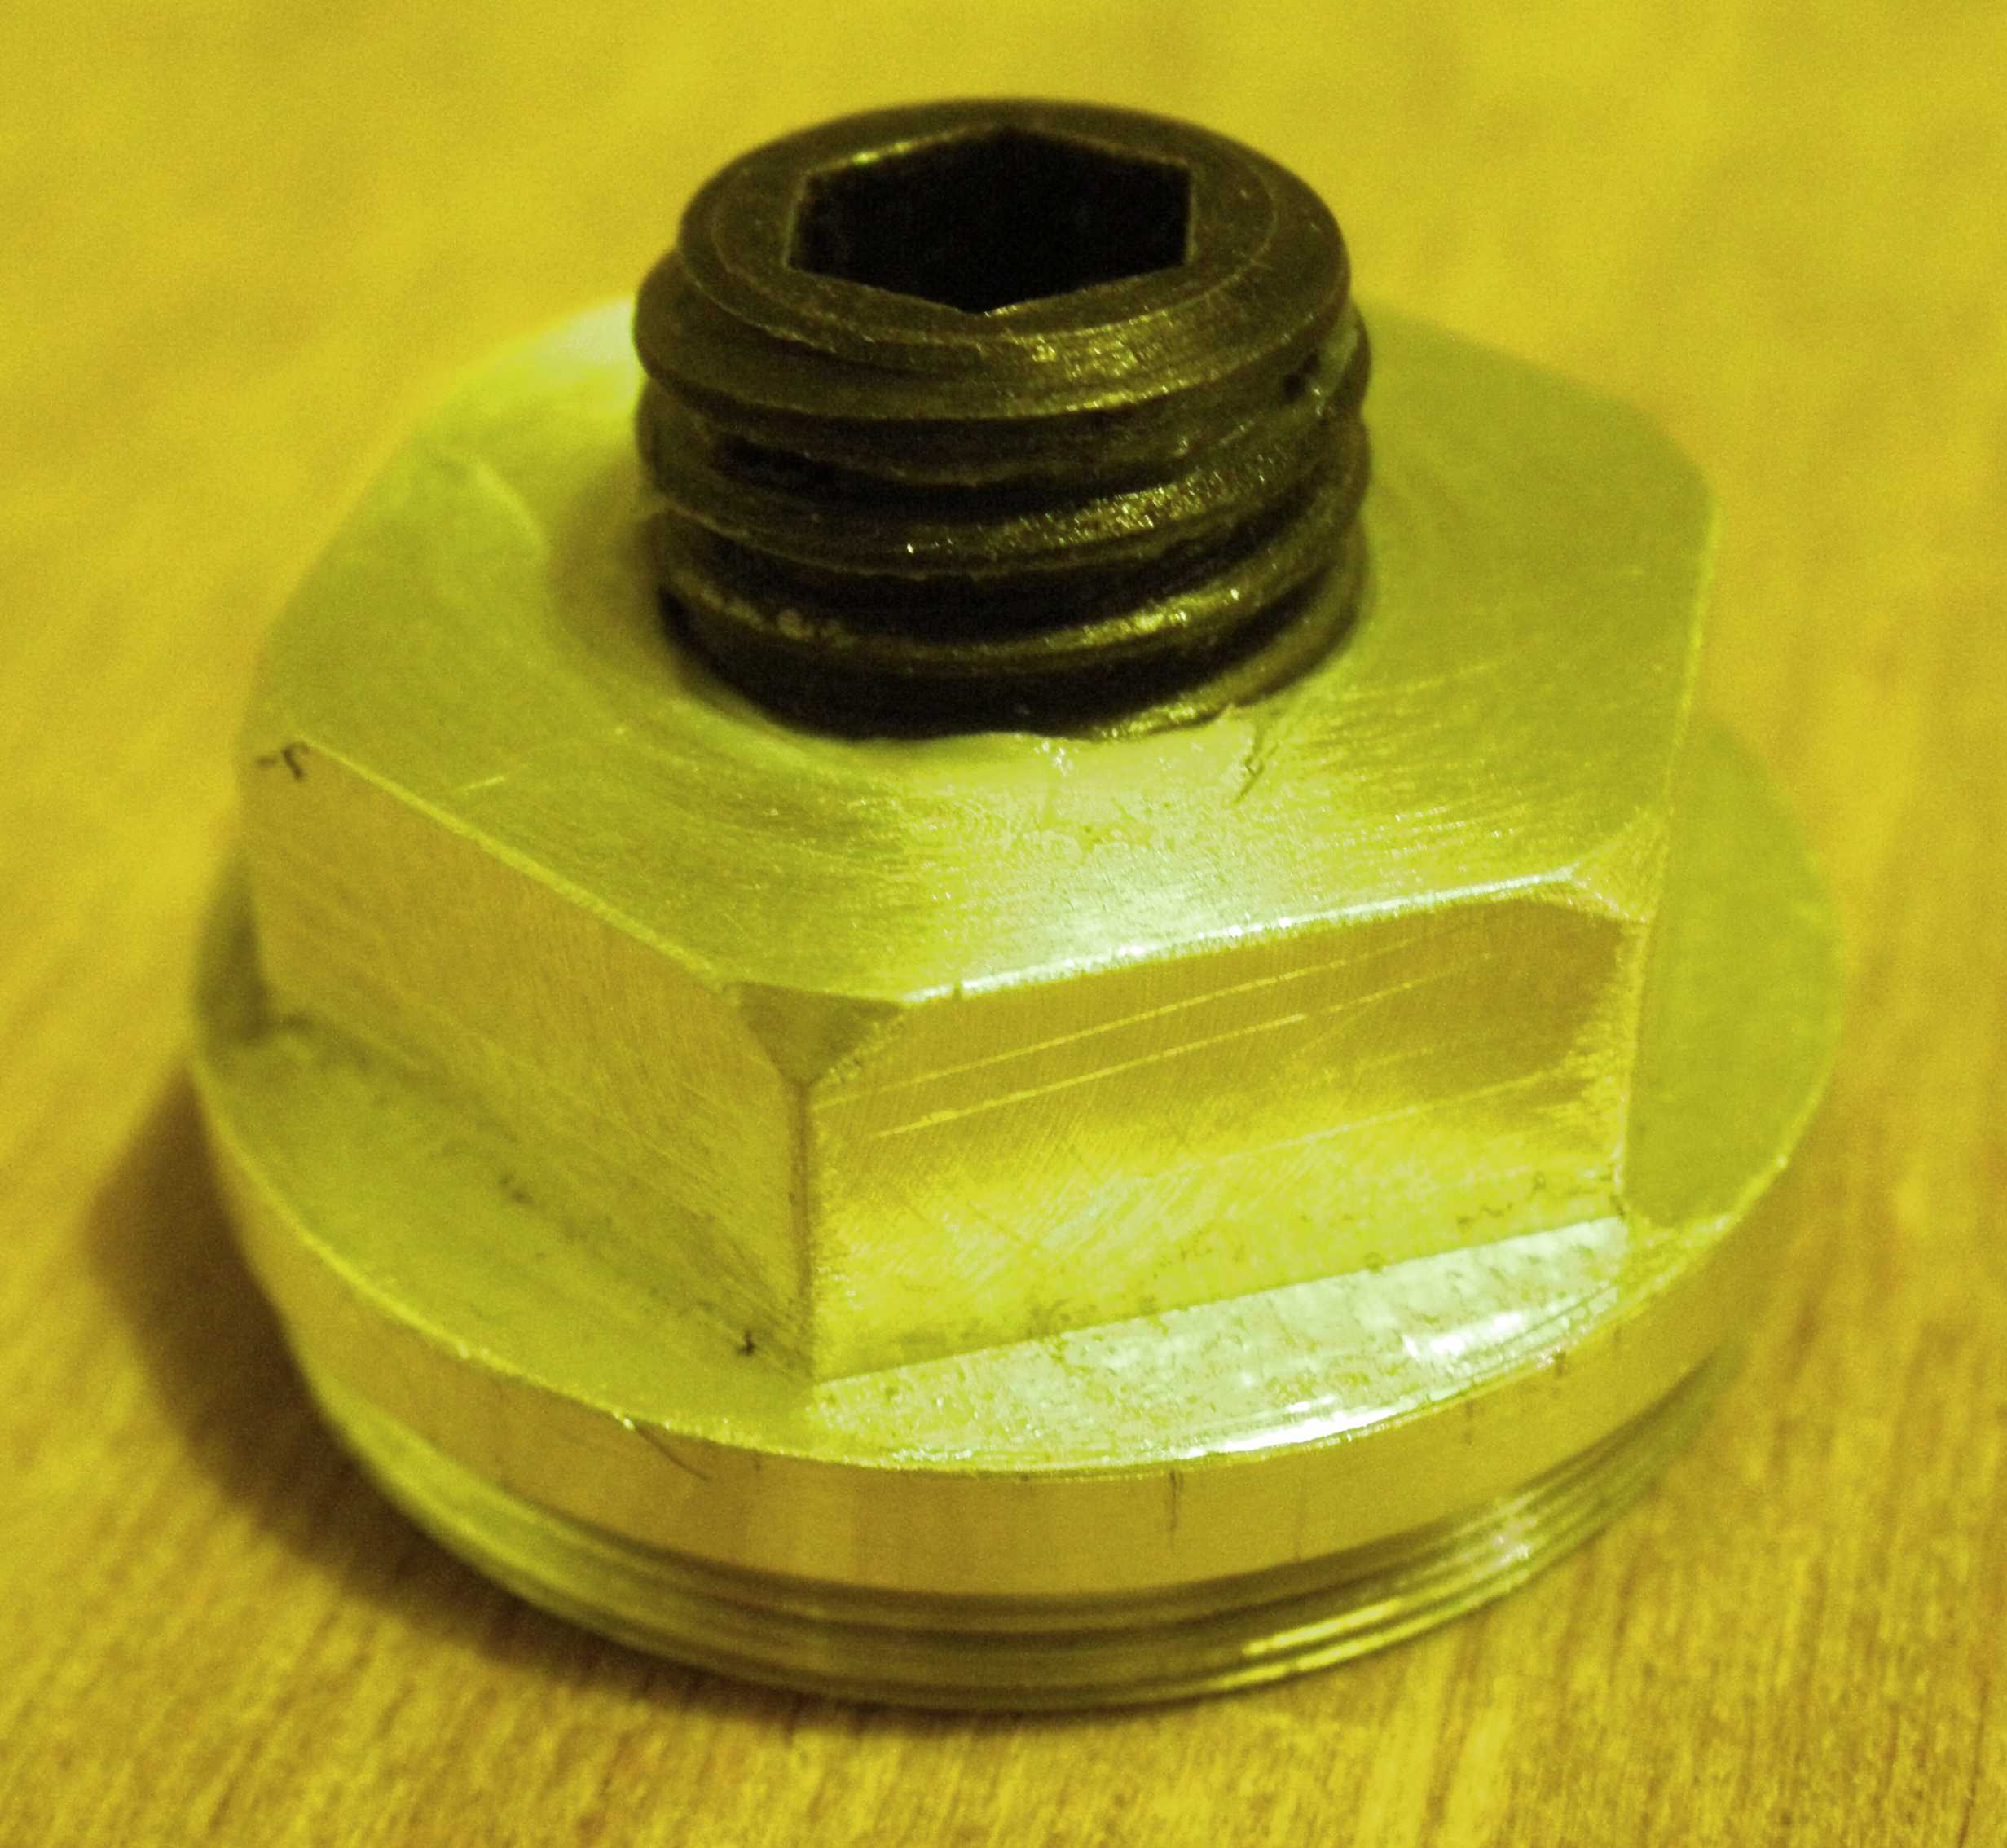
This worked much better and I actually got a firing which sounded good and looked ok. If you look at the video, I'd say the noise from the motor persisted longer than the flame appeared to. It sort of looks like it blew itself out. So that'll be something interesting to investigate.
Next
I've just built an instrumented test stand for the motor and I hope to be able to measure some thrust curves. Watch this space. And I've branched out away from using paper as a fuel and started to use PVC pipe.